|
INSTALLING 3.5" FLOPPY DRIVE IN THE CPC The easy way to build one, without cutting cable, without soldering iron, without knowing nothing about electronics and if we have a old PC we will do it totally free. This tutorial is not going to explain the operation of a disk drive, neither the disc controller of the CPC, etc, for that exists many tutorials on the net. |
| Required materials |
|---|
| Old PC Floppy cable with at least one 5.25" conector |
| 3.5" Floppy Drive |
| Old PC Power Supply |
| Some jumpers (3) and 3 (or more) pairs on motheboard pins (see the photographs) to plug in the free cable connector |
|
The following photograph is an example of a valid floppy cable, it has three connectors, one of 5.25" drives that we plug in the CPC disc drive connector and two connectors of 3.5" drives, we use one to our 3.5" drive and in the other we connect later the jumpers to set the required signals. |

|
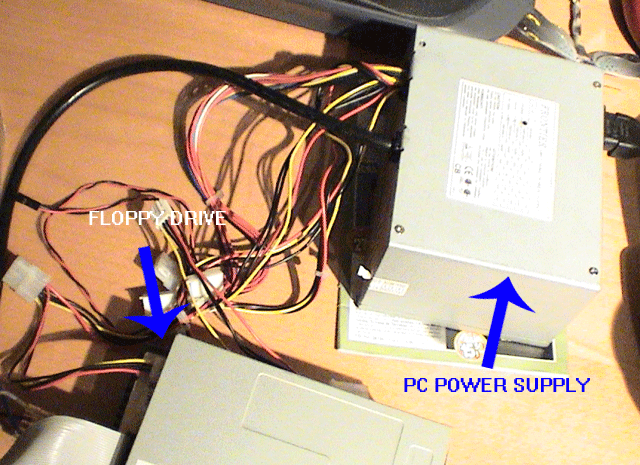
The following photograph shows a PC Power Supply and a Floppy Drive with the cable connected. |

|
The following photograph shows the free cable connector with the pins and jumpers plug. Pins 33-34 must be always connected (with the jumper or other way) or the floppy will not work. The CPC needs the Ready signal always set. The other two pairs or pins are optional. With pins 31-32 connected, the floppy drive uses head 2 of disc. With pins 11-12 connected, the CPC uses 3.5" drive as primary drive (A:). If you dont like the easy and fast jumper solution, you could cut the cable and solder some switchs, etc. |

|
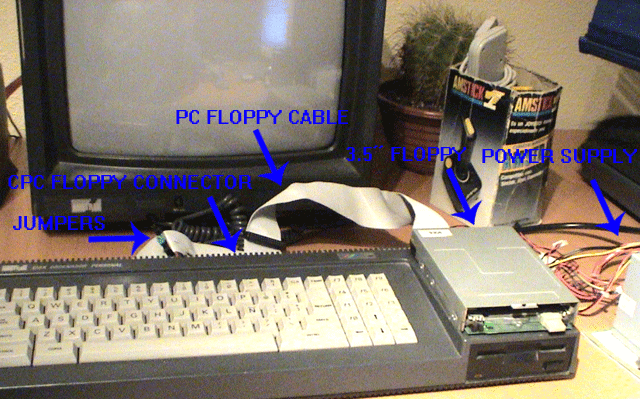
Finally a nice photograph of CPC and the new floppy drive. As it can be seen, is not as elegant as we like, but its a easy and working solution. |
